

A few years ago, I moved from Windows to Ubuntu. Mainly due to my dear old laptop's decline in performance. Launching a text editor and a dev-server should take only a few seconds. So, I thought, let's try something else next.
Table of contents
Getting used to the new environment took time. I could bring some applications from my old laptop, like Keepass or Postman. However, using package managers beyond NPM or Yarn was alien to me.
Today, I feel comfortable with both systems. Windows' OS still does well for everyday work and file organization, while Linux shines for development. Primarily due to the incredible amount of specialized software.
This article presents all the tools I've picked up over the last few years. You'll make good use of them.
I will also see to update it whenever I find a tool that might be worth your while.
The hardware
I'm using a LENOVO IdeaPad 5 with 16GB RAM and 512GB SSD. It seemed to be (still is) a good compromise between price and power. It is available on Amazon.
The OS
All tools I am about to present are running on Ubuntu v20.04.4 LTS. By the time you read this, most of them will probably work on newer versions, too.
If you need a hint to install Ubuntu, read on here.
Categories of tools
Core software
If you already have a machine setup with Ubuntu & Node, feel free to skip this part.
🐦 Snap
In all the latest distributions, Snap is already shipped with Ubuntu. It is a dedicated app store that offers a GUI and a CLI.
@ 27. March 2022: Snaps run in a sand-boxed environment. I noticed that when installing the KeePassXC - extension for Brave. It could not sync with the main application. See https://ubuntu.com/core/docs/security-and-sandboxing.
In case you're missing it, you can install it like this:
sudo apt update
sudo apt install snapd      # install the snap cli
sudo apt install snap-store # install the snap gui
🧶Nodejs, NPM, and Yarn
You'll need Node to run Javascript on your computer. And a tool that helps you manage code dependencies. Choosing between NPM and Yarn is (mostly) a matter of preference. I'd recommend you to use Yarn, though. I figured it's a bit more performant than NPM.
sudo apt install nodejs
sudo apt install npm           # in many cases, npm is shipped with node
sudo npm install --global yarn # optional
Development
🧑💻 VSCode text editor / IDE
It probably comes as no surprise. If you're a developer, you've probably come across Visual Studio Code already. You can get it from the Snap Store or via. CLI:
sudo snap install --classic code
🦁 Brave / Chrome Browser
Google Chrome ships with a versatile toolkit. I've seen it often quoted as the de-facto standard for web development. If you value your privacy, you might as well give Brave Browser a shot. Both seem to deliver equally well in terms of performance and tooling.
You can install Brave Browser from the Snap Store or via. CLI:
sudo snap install --classic brave
🌱 Git
A well-managed codebase is a solid one. Git is a battle-proof SCM tool to achieve just that. For collaboration, as well as for your private projects.
Run the following to install Git:
sudo apt install git
🦑 Git Kraken
Git Kraken provides you with a GUI to handle your Git repositories. In its free version, it can be used on all local repositories and public remotes.

You can get in in the Snap Store or via CLI:
snap install --classic git-kraken
🐳 Docker
Deploying containers is a popular way to ship software. Likewise, Docker is a popular tool to do so.
Before running the following script, I would recommend you to take a look at the official installation docs - this one might not be up to date
You can install Docker like this:
# Get rid of older docker versions
Sudo apt-get remove docker docker-engine docker.io containerd runc

# Add libs and the docker repos
sudo apt-get update
sudo apt-get install apt-transport-https ca-certificates curl gnupg lsb-release

# Add the official docker keyring
curl -fsSL https://download.docker.com/linux/ubuntu/gpg | sudo gpg --dearmor -o /usr/share/keyrings/docker-archive-keyring.gpg

# Add the repository (stable built) for your architecture
echo \
"deb [arch=$(dpkg --print-architecture) signed-by=/usr/share/keyrings/docker-archive-keyring.gpg] https://download.docker.com/linux/ubuntu \
$(lsb_release -cs) stable" | sudo tee /etc/apt/sources.list.d/docker.list > /dev/null

# Install the docker runtime
sudo apt-get update
sudo apt-get install docker-ce docker-ce-cli containerd.io

# Verify docker is running
sudo docker run hello-world
Responsively
Tired of moving your devtools from left-to-right while developing websites? Then you should give Responsively a try. It's a browser solely for developing responsive applications - all within a single window.
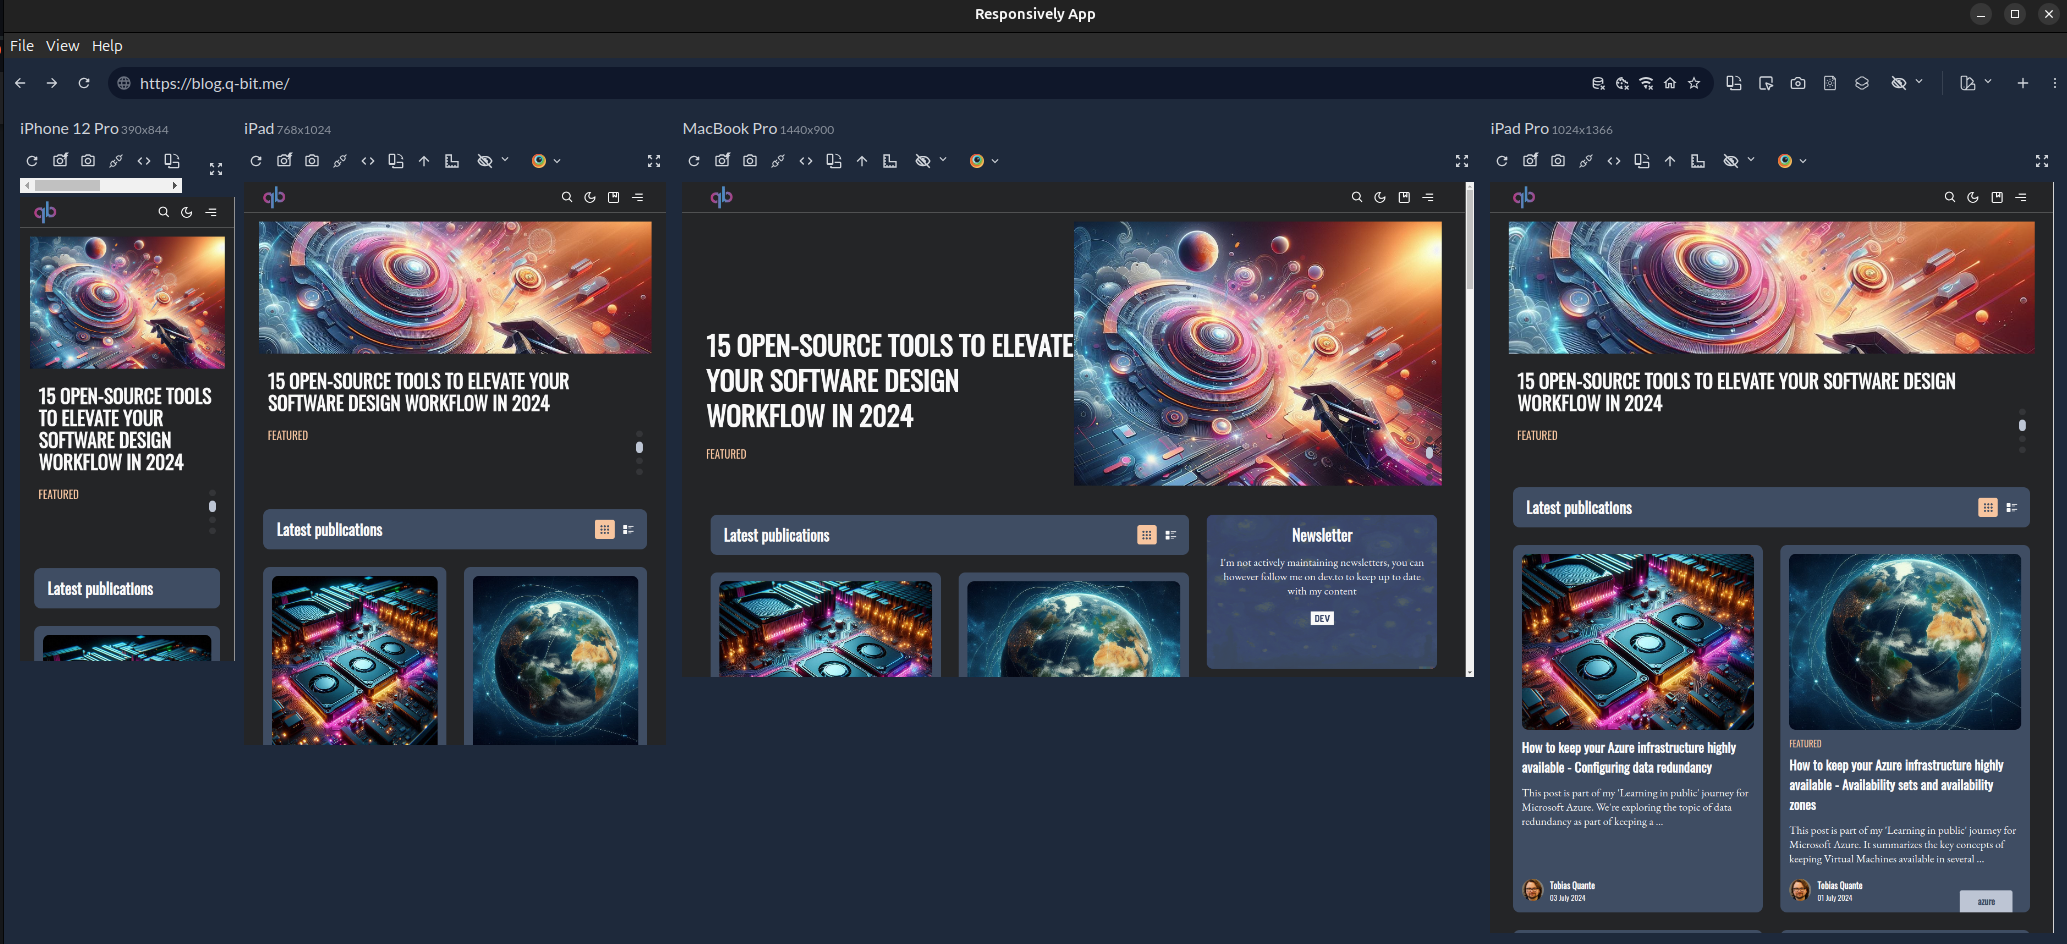
Responsively supports lots of different viewports and is build on top of chromium. All default browser features work. Altogether, a great tool for responsive web development.
Productivity
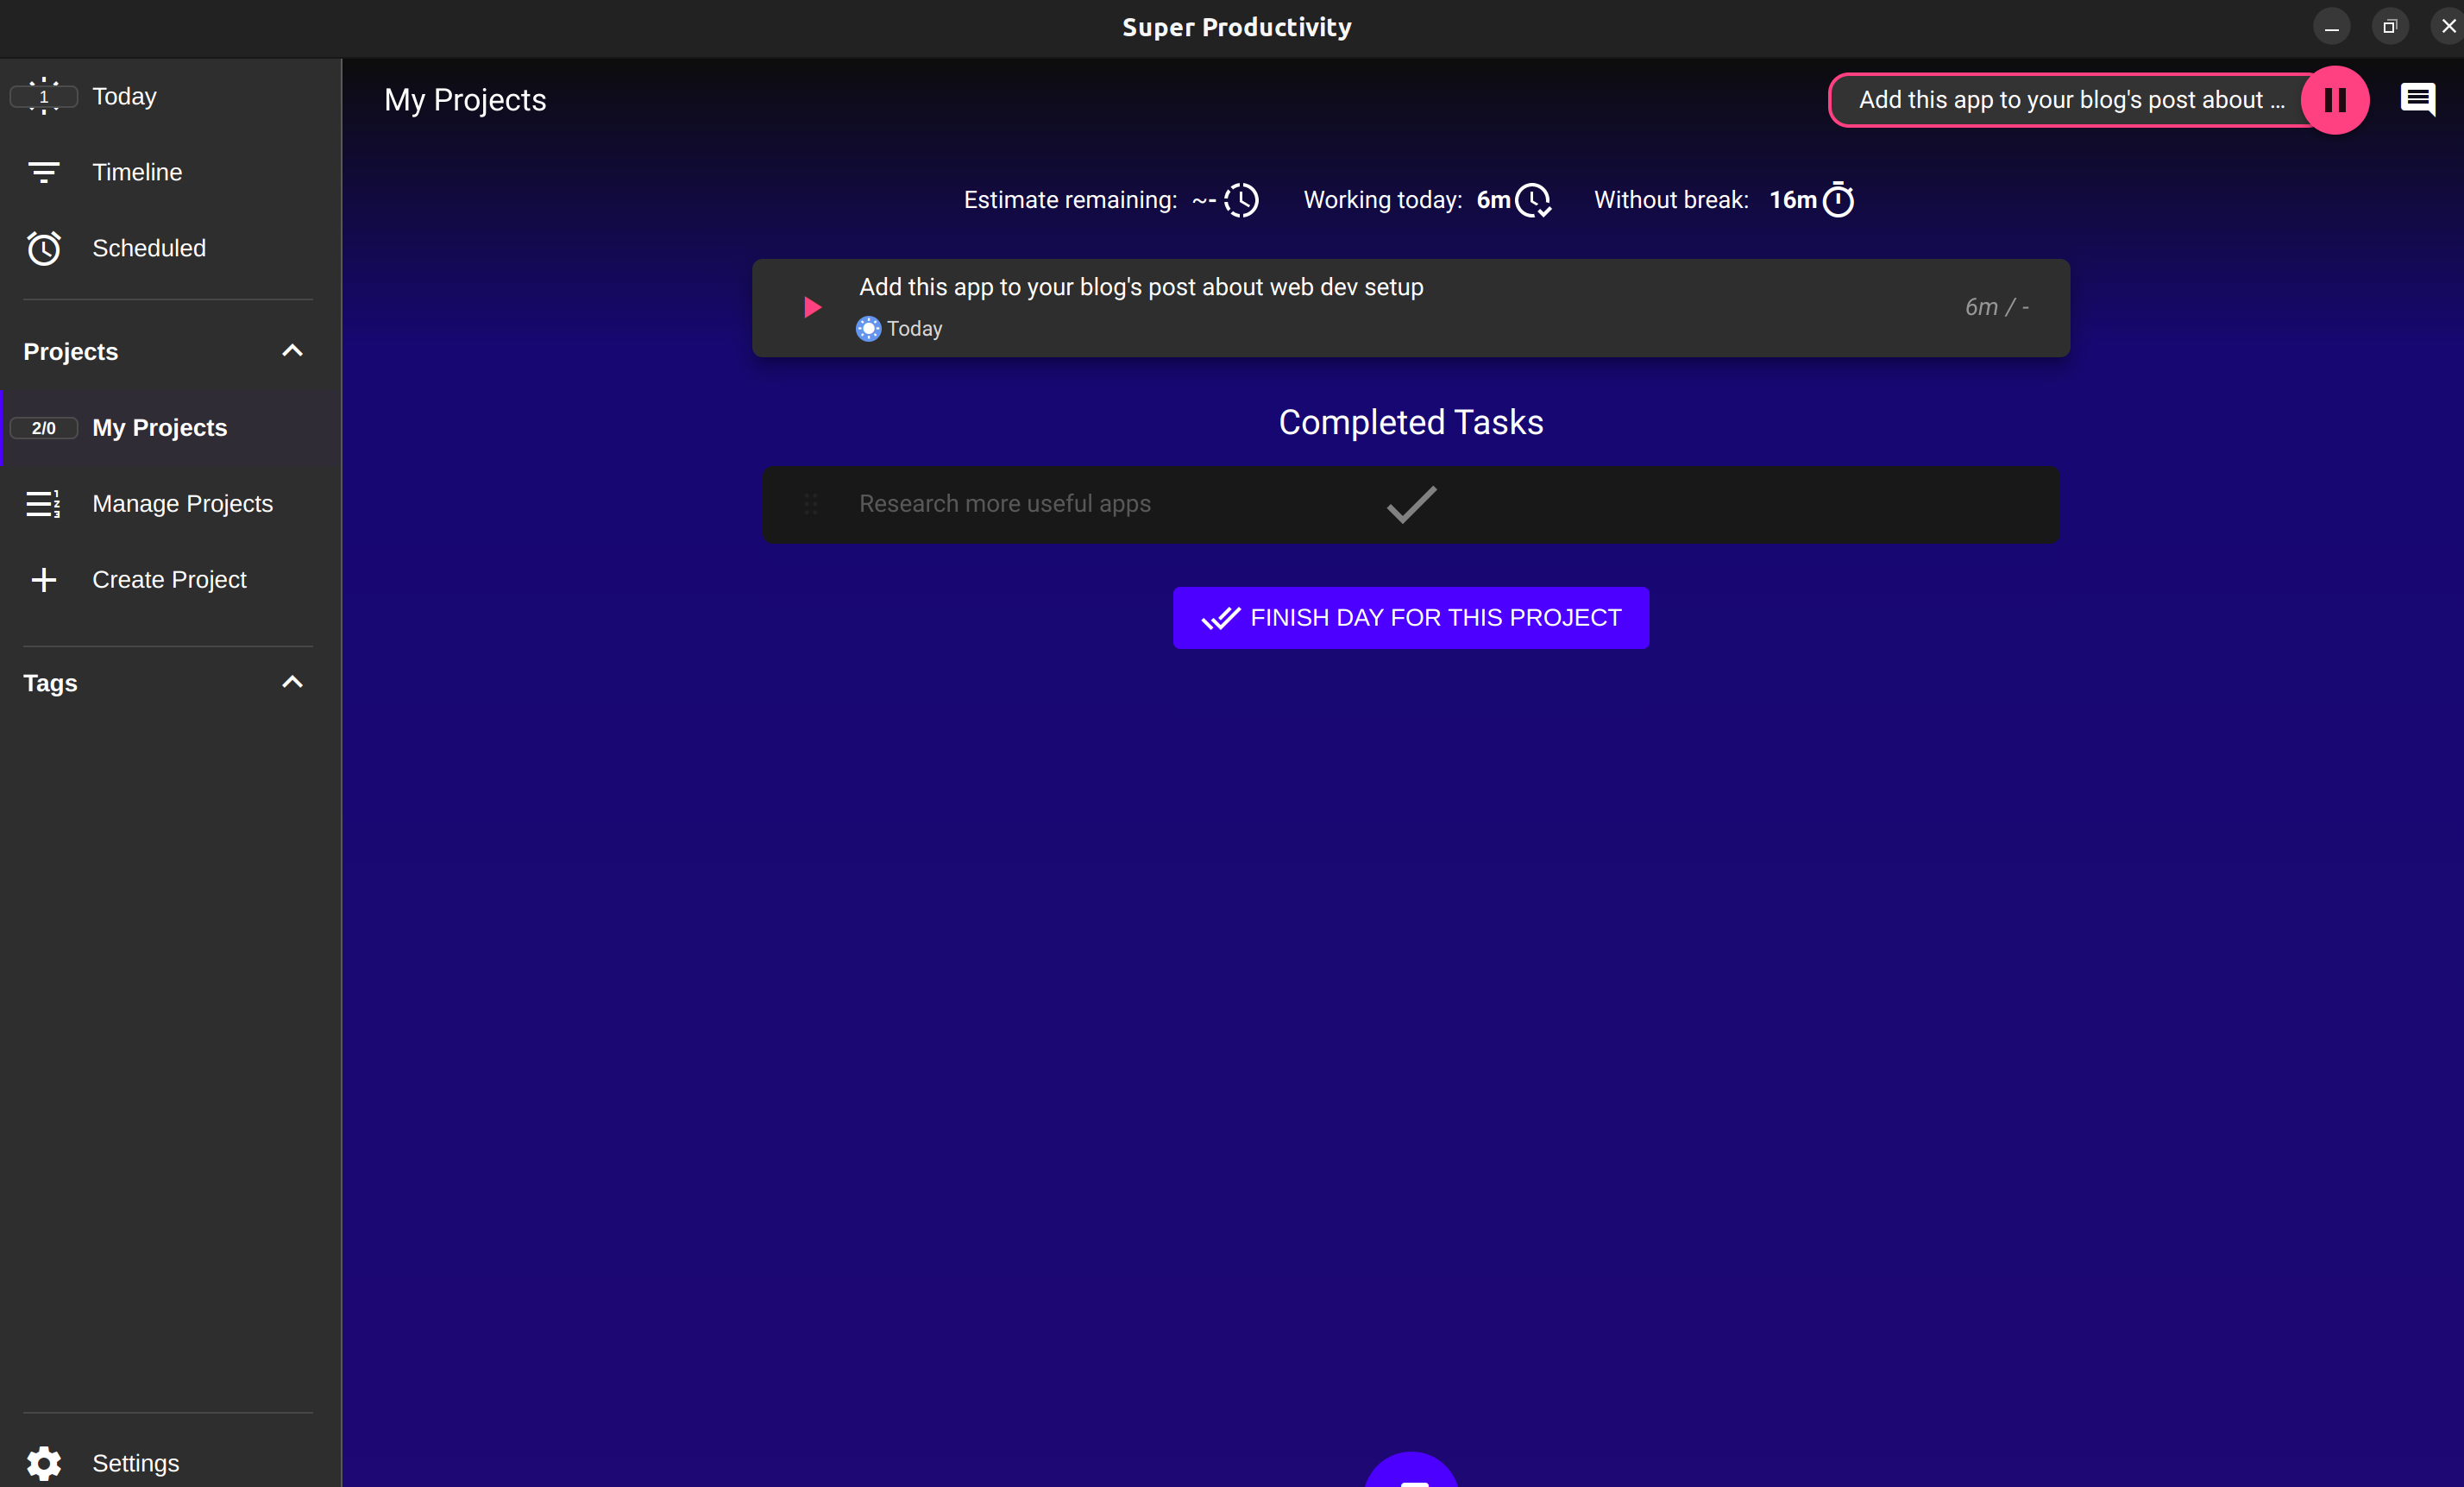
Super productivity
Supercharge your to-do list with this superbly thought-through application. Super productivity helps you track your time spent on projects, tasks, and tags. It provides lots of integration into famous project management tools and even the open standard WebDav (Nextcloud users will love this)
# Get superproductivity from the snap store
sudo snap install superproductivity
α Albert launcher
If you have worked with MacOS before, you are probably familiar with Spotlight or Alfred. Albert's a launcher software to minimize the count of keystrokes required to do stuff.
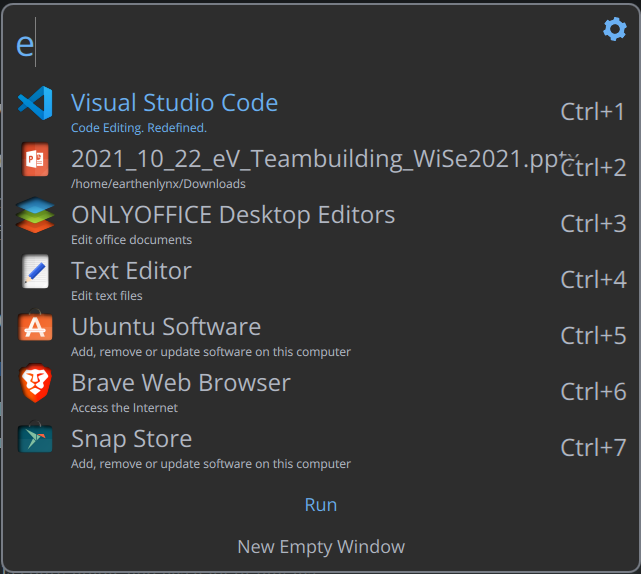
Installing it requires intel of your OS. You can find the installation steps for Ubuntu v20.04. I recommend you take a look at the official installation docs though.
curl https://build.opensuse.org/projects/home:manuelschneid3r/public_key | sudo apt-key add -
echo 'deb http://download.opensuse.org/repositories/home:/manuelschneid3r/xUbuntu_20.04/ /' | sudo tee /etc/apt/sources.list.d/home:manuelschneid3r.list
sudo wget -nv https://download.opensuse.org/repositories/home:manuelschneid3r/xUbuntu_20.04/Release.key -O "/etc/apt/trusted.gpg.d/home:manuelschneid3r.asc"
sudo apt update
sudo apt install albert
Albert is configurable with plugins. And if you're looking for more features, take a look at this repository for Python extensions.
🚀 ULauncher (alternative to Albert)
Albert's plugin system, being very useful, limits you to using Python code to execute scripts. ULauncher follows the same principle, with an additional option of using scripts as shortcuts. Instead of specifying a query, you can provide a bash or Node.js script for the program to execute.
Despite this functionality, ULauncher works just as well as Albert. It offers a lot of useful Python3-based plugins with the additional benefit of said shortcuts.
✂️ CopyQ
CTRL+C & CTRL+V are probably among your most-used keyboard shortcuts. With CopyQ, you can now keep a history of all the content you've copied to your clipboard. You'll never have to worry about overwriting it again. It offers the possibility to organize copied content and comes with a baked-in public scripting API.
If you fancied Albert loader: There's a CopyQ Python plugin for it.
You can get CopyQ it by running the following commands:
sudo add-apt-repository ppa:hluk/copyq
sudo apt update
sudo apt install copyq
📔 TL: DR pages
Every software package comes with a manual ( = man-page). While being indispensable, man-pages usually do not give you practical examples. TL: DR pages is a community project that aims to fill that gap.
npm install -g tldr
If you're now looking to understand how the cp command:

🔱 Z shell
Zsh is another shell software for Ubuntu & MacOS. Functionally, it can do pretty much what the basic bash does. But it brings some tweaks to the show to reduce your keystroke count even further.
Check this article on key differences between Zsh and Bash
You can install your new favorite shell like this:
# Install Zsh
sudo apt update && sudo apt upgrade
sudo apt install zsh

# Set the default shell to Zsh
chsh -s /bin/zsh <your-user-name>

# Exit sudo, then try:
echo $SHELL # if everyting worked, output is /usr/bin/zsh

# You can customize Zsh once it's installed
nano ~/.zshrc
🙀Oh My Zsh
Oh, My Zsh is a framework built for Z Shell. It comes with an insane amount of possibilities to customize and style your terminal.
There is an official installation script available on Github.
sh -c "$(curl -fsSL https://raw.github.com/ohmyzsh/ohmyzsh/master/tools/install.sh)"
If you configure a theme and notice it looks awkward in VSCode's terminal, take a look at this post on dev.to. If the fonts won't do it, try these ones from powerlevel10k.
Oh my ZSH Plugins
An unordered list of all plugins for the already powerful framework
Use with caution - every plugin increases the startup time of the terminal
Web-based tools
⛵ Animista
Animista helps you to create CSS animations. It delivers you the whole code and supports auto prefixing.
🎨 Penpot
When designing websites, you usually don't start off coding. You'll want to have an idea of what you're building.
I used to prefer Figma for this kind of stuff. By now I'm using Penpot as it's self-hosted and has no limitations on what you can do on its platform.
📇 Fontjoy and Fontsource
With Fontjoy, you can easily generate matching font-family groups. Most (if not all) of these are available from Google fonts. If you are to comply with GDPR, you can use Fontsource to easily host these fonts yourself.
If you cannot or don't want to use Fontsource, you should read this article on how to self-host Google fonts.
⌛ Loading.io
Loading.io delivers some open-source loading animations. They can be dropped into your project and don't leave a huge footprint. Loading.io also offers a gallery of spinners. A lot of them are free to use and can be customized to your needs.
📚 Notion
There are plenty of reasons why to use Notion. These are my top three:
- You can use official or battle-proven community templates for notes, knowledge curation, and project planning. https://www.notiontemplates.tech/
- You can store information in Databases and link them to each other with powerful macros. https://radreads.co/notion-databases/
- It has a REST API that opens its ecosystem up to your own app. https://developers.notion.com/docs/getting-started
I'm using Notion mainly for its Wiki- and Database capabilities.

☁️ Nextcloud
If you do not want to risk a vendor lock into Notion or other cloud providers, you could simply host your own. Nextcloud is a self-hosted productivity platform and data storage. Comparable with services such as Dropbox and Onedrive. But supercharged with its own marketplace of plugins and apps.
You can integrate Nextcloud to a lot of popular clients. Like syncing files over WebDAV with your Neptune file explorer. Or link your Nextcloud Calender to Mozilla Thunderbird.
A self-hosted Nextcloud instance is free to use for individuals. Mine runs on a 5$ Digital Ocean Droplet.
NOTE: Self-hosting means that you are also responsible to make regular backups of your content
If you're looking to host a Nextcloud instance yourself, you should follow this Digital Ocean tutorial. You're also welcome to use my Digital Ocean referral code and receive 100$ to start off with.
🚄 Page speed insights
Once you've deployed your MVP, it's time for optimization. 'PageSpeed Insights' uses Google's Lighthouse scoring to benchmark your website's performance. It also gives you a detailed insight into what can be improved.
Lighthouse is also available as an npm module.
Utilities
📝 Marktext
If you're looking for a desktop solution to writing markdown texts, behold Marktext. Built on Electron, its toolkit includes:
- Markdown and rich-text formatting
- Three different writing modes and six different themes
- Inline math & diagram support, e.g. for Mermaid.js
You can run it simply by downloading the app image. To register it as a desktop app, you can follow the steps in my other article on .AppImage files.
📝 Obsidian
Obsidian is an even better markdown-only editor with a lot of built-in features. Its huge plugin ecosystem provides plenty of ways to make Obsidian your personal knowledge database:
- you can turn your knowledge snippets into a database with Dataview
- easily backup your vault to Github/Gitlab with Obsidian Git
- keep track of your day with Daily Notes
RAM🖌️ Gimp
Over the last years, Gimp grew to be a true competitor to Adobe's Photoshop. It's a great desktop application for image manipulation.
You can get it from the Snap Store or via CLI:
snap install --classic gimp
🎥 Peek
If pictures say more than a thousand words, moving pictures can tell whole stories. So instead of writing, say a colleague, how to do something, you could also send a .gif file. Peek helps you to capture parts of your screen and generates one.
I can even create a gif of me writing this article.
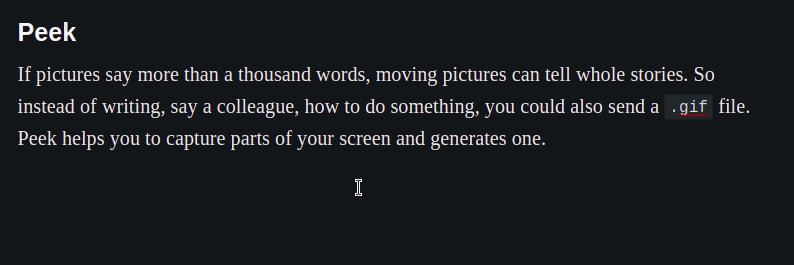
You can grab a version of Peek from its official repos: https://github.com/phw/peek
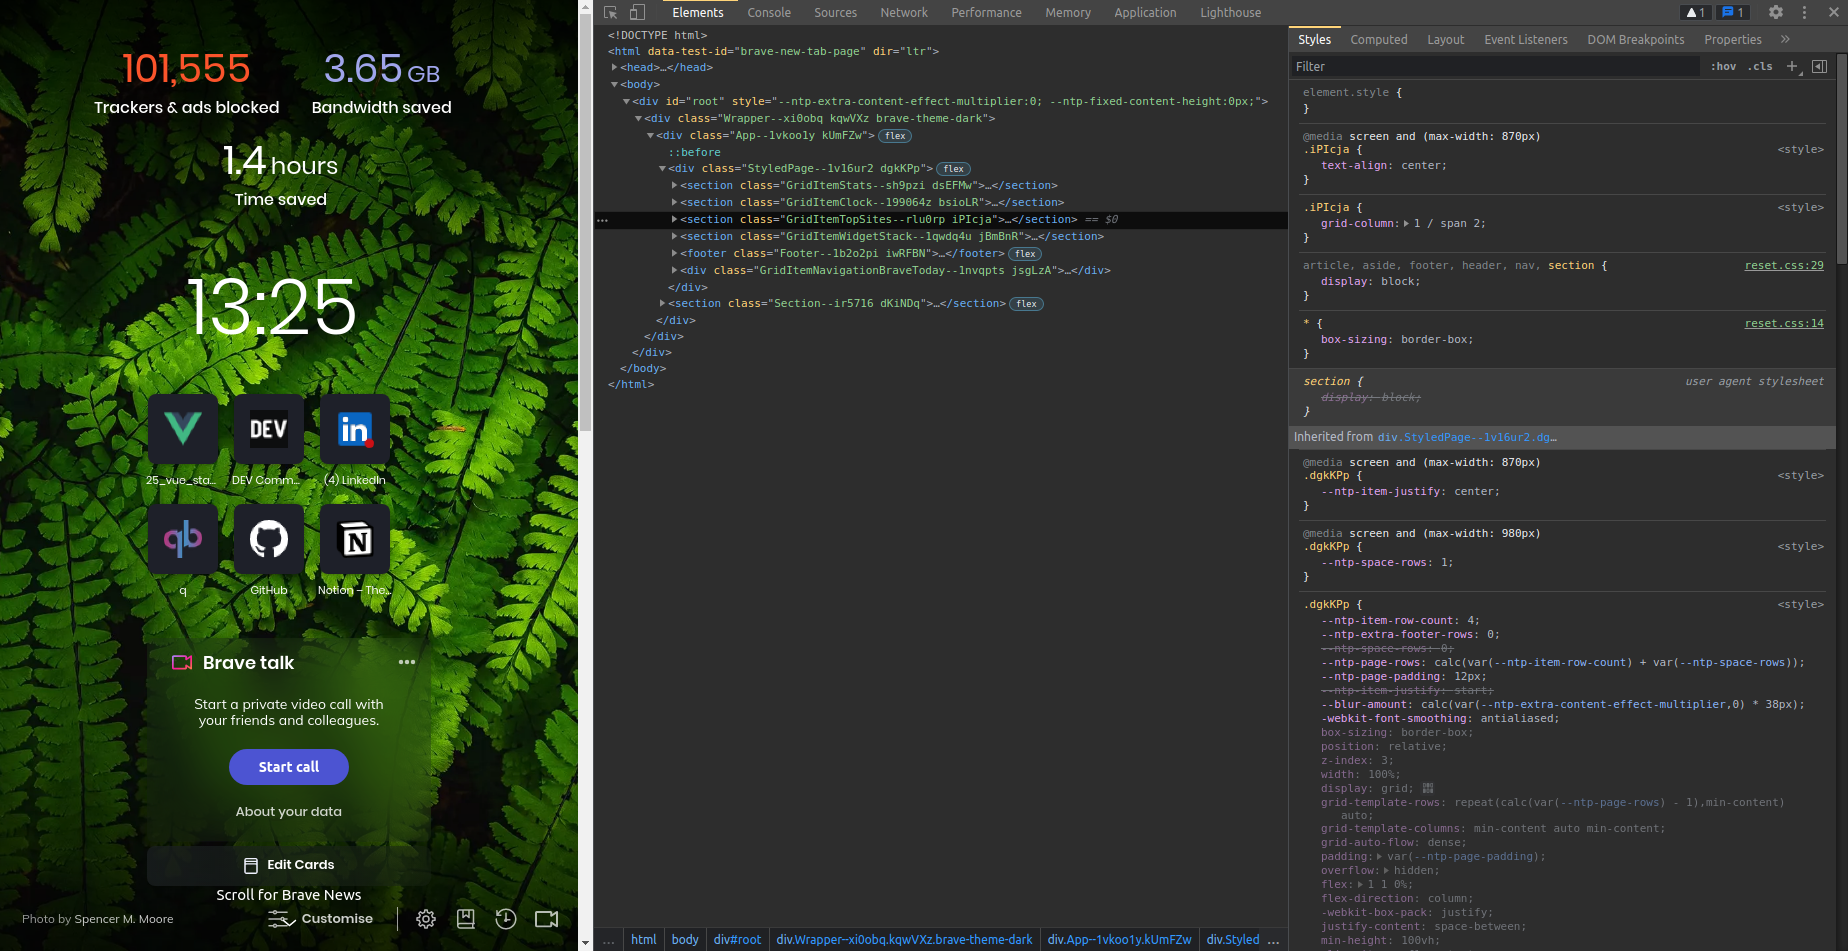
Bonjourr
A super simple starting page for your browser. You can add custom links, set several time-zone clocks, add notes and check the weather.
Configuration proposals
In this section, I would like to share a few tweaks that make my life easier when working or fiddling around.
I highly encourage you to try and come up with your own configuration. Anyway, if you would like to share your configuration proposals, I'll be more than happy to add them to this list.
🧰 VSCode plugins
Plugins give your text editor superpowers. I won't list all I fancy, but a selection you will want to give a chance.
- Auto Rename Tag
- Bracket Pair Colorizer*
- ESLint
- Prettier Code Formatter
- Visual Studio Intellicode
- Quokka.js Code Scratchpad
*Bracket Pair colorizer is baked into the newer versions of VSCode. You can activate it by adding "editor.bracketPairColorization.enabled": true to your settings.json file.
⚙️ VSCode settings.json
These are a few tweaks I made to my settings.json file.
{
  ...
  // Activate TS - checking for Javascript files
  "js/ts.implicitProjectConfig.checkJs": true,

  // Highlight the line you're currently working in
  "workbench.colorCustomizations": {
    "editor.lineHighlightBackground": "#1073cf2d",
    "editor.lineHighlightBorder": "#9fced11f"
  },

  // Enable bracket pair colorization
  "editor.bracketPairColorization.enabled": true

  // Apply code formatting when saving a file
  "editor.formatOnSave": true,

  // Change the default tabsize
  "editor.tabSize": 2,

  // Change the default fonts and enable font-ligatures
  "editor.fontFamily": "Fira Code, Consolas, 'Courier New', monospace",
  "editor.fontLigatures": true,

  // Change the cursor from blinking to a smooth fading effect
  "editor.cursorBlinking": "smooth",
  "editor.cursorSmoothCaretAnimation": true,

  // Change the default window title
  "window.title": "${activeEditorShort}${separator}💻${separator}${rootName}",

  ...
}
