

Vue is a great framework to develop user interfaces. It has experienced a great deal of growth in popularity since its initial release in 2014 and still continues to improve. The third and final part of this series explains how to ship your final application inside a productive docker container
Table of contents
Haven't read the previous article yet?
- Check out the first part of the Vue-Docker series here.
- Check out the second part of the Vue-Docker series here.
- Or if you're TL: DR - take me to the code.
Push to a docker repository
After successfully building a local image of `vue_app:production`, it's time to ship our app.
If you're here, I assume you've followed all steps from the previous articles. If you haven't, you should go back at least to the 'Prepare the app for deployment' part.
Images are usually shipped to a remote Docker repository. From here, anyone with access can use docker - or docker-compose - to pull and run a container.
We'll use Dockerhub, the official repository for most publicly available Docker images. Create an account and a new repository
Then, open your favorite IDE and a terminal. Type the following to sign in to your Dockerhub account:
docker login -u <your-username> --password-stdin
# Then, type your password whem prompted
# A successful login is indicated by the promot 'Login Succeeded'
Before pushing, we must make an adjustment to our image. Our local image is called `vue_app`, but our remote repository also includes our username.
This can easily be done by slightly changing the docker build command. Instead of providing just the name of the image, we'll also provide our DockerID. In my case, that's `earthenlynx`.
docker build \
    -f ./dockerfiles/Deploy.Dockerfile \
    -t <your-dockerid>/vue_app:production \
    # -t earthenlynx/vue_app:production \
    vue_app
Finally, run the following command to upload your built image:
docker push <your-dockerid>/vue_app:production
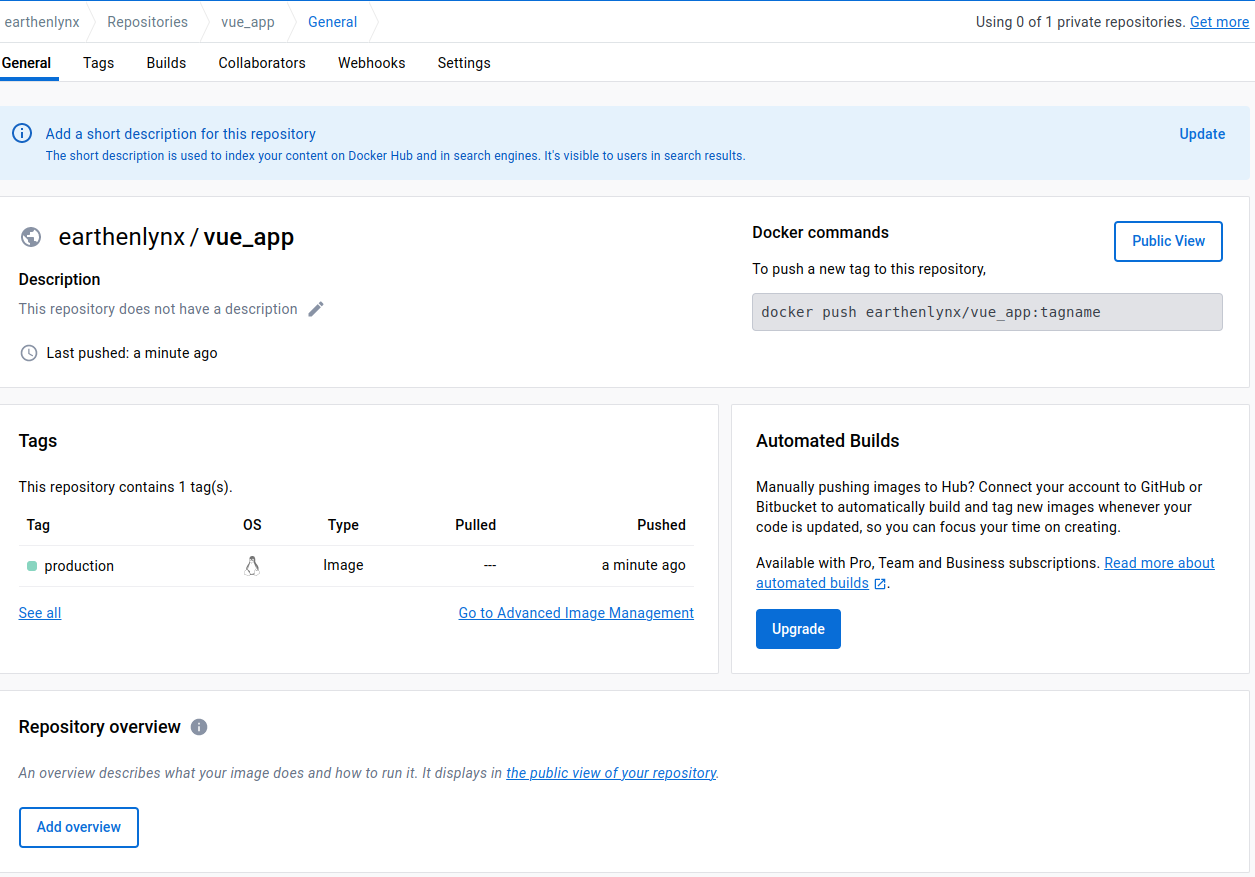
If everything worked well, you should now see the pushed tag (= production) in your Dockerhub repository:
Pull from a Docker repository
Congrats, you've successfully published your Docker image. You can now download and run it everywhere with the Docker CLI.
Let's get rid of our local image first. We'll want to showcase the actual Docker pull process. If we do not remove it, Docker will use the local image by default
docker rmi earthenlynx/vue_app:production
Then, run the following command:
# docker run -p 80:80 earthenlynx/vue_app:production
docker run -p 80:80 <your-dockerid>/vue_app:production
Docker will then pull the image and launch the Nginx process, effectively starting a container of our app on http://localhost.
Use Docker compose
Instead of the above, you can also run `docker compose` to start this image up. For the sake of demonstration, let's start
- A local development version of our app on port 8080
- A productive version of our app on port 80
Create a `docker-compose.yml` file in your project's root directory and add the following content:
version: "3.8"
services:
  vue_app_dev:
    build:
      dockerfile: dockerfiles/Dev.Dockerfile
    volumes:
      - <path-to-your-project>/vue_app:/vue_app
    ports:
      - "8080:8080"
  vue_app_prod:
    # image: earthenlynx/vue_app:production
    image: <your-dockerid>/vue_app:production
    ports:
      - "80:80"
Then, run one of the following commands:
docker compose up     # Use docker's built-in compose function
# docker-compose up   # Use the docker-compose binary
You can then check out either http://localhost or http://localhost:8080. Both ports should now serve one application, one for production, and one for development.
Final recap
If you've read till here, you're now fully equipped to develop small and medium applications with Vue and Docker.
You've learned how to:
- install Docker and Docker-compose
- use utility containers to initialize your project and add new modules
- build a dev-container
- develop inside the dev-container
- build an image
- push the image to Dockerhub
- pull the image from Dockerhub
- run containers in production mode with Docker and Docker compose
The next logical step from here would be to dive deeper into DevOps. You could learn how to
- build and tag a container with each commit/release/tag on Github
- automate testing and deployment (= assemble a CI/CD pipeline)
- extend existing images with your own logic
Or you could explore the usage of utility containers to configure more complex systems. For example:
- How to configure a MongoDB cluster
- How to generate SSL certificates for Nginx or Apache
- How to orchestrate utility containers to complete automated tasks
